Tame those bookmarks

So far in our digital workflow series we’ve looked at ways to triage information for later reading, and also how to save interesting articles or resources to our own digital library. Using a short term tool like Pocket along with a long term storage tool like Evernote makes for a powerful combination, but we also need to consider how best to share with other people. It’s here that we look at the next step of the workflow process- share.

Share

Sharing our own work or promoting resources created by others is an important aspect of being a valuable member of our network. Think about all of the great resources you’ve found online, and how you found them. These resources were created and shared by someone. They were then promoted by others, either on social media, through bookmarking sites or by linking in blog posts. Everyone involved in that process has played some part in bringing that great resource to your attention, so by adding our own thoughts or recommendations then we pass that resource on to others.

One great way to do this is through a social bookmarking tool. These tools let you bookmark great resources to build your own library of links, and they also let you share with others. They are a much better alternative to the old workflow of bookmarking that might work something like this:

  • find a great site
  • bookmark it in your browser
  • email it to yourself
  • email it to your colleagues

But this process has some problems:

  •  your browser bookmarks will probably quickly become unmanageable
  •  you will email it to yourself, not have time to look at the link and then put it in a folder marked Later or Stuff (which you’ll never check)
  • your colleagues will be busy, and drag it to their own folder marked Later or Stuff (which they’ll never check). Then you’ll eventually decide that you don’t want to bog them down with emails
  • you and your colleagues miss out on those great resources

So instead of that process, let’s find a better way to save those bookmarks, and put them in a place where anyone can find them when they need them. To do this you can use a social bookmarking tool, and one of the best around is Diigo.

Here’s a brief introductory video showing how Diigo works.

How to get started with Diigo

  • To get started with Diigo, visit diigo.com and sign up for an account.  There is also an option for an upgrade to free educator accounts if you sign up with an email address from a registered educational domain (such as Edumail)
  • The one problem with Diigo is that adding your first bookmark is quite a complicated process, and until you get your first bookmark added the library page is a bit bare. So we’ve put together a complete guide to getting started with Diigo, including installing a toolbar in your browser, organising your library and much more.
  • Once you’ve added a few bookmarks to your library, explore the annotation, highlighting and sticky note features of Diigo.
  • Now that you are building your own library, why not search for groups of educators with interests in your subject area? One great group to join is VicPLN, which includes a wide range of general teaching and learning resources. Click this link, request to join (select Join this group)and when you’re approved you’ll be able to share your favourite resources with the group. You can also comment on links and save any links you love into your own library by selecting More>Save.

    You can comment on the links of people in your group, and also save their links to your personal library

  • Now that you’ve seen how Groups work, form your own group within your school. Instead of emailing interesting links to colleagues make sure that you all share them into the group, so they are there when anyone needs them. Use tags to organise your resources into subject, year level or topic. You could also create groups within your classes and have students post interesting links as they complete their research (make sure you get an educator account to do this).
  • Now that you’ve worked out a place to store your new bookmarks, think about what you want to do with those bookmarks you’ve accumulated over the years. If they are all stored in your browser then you might think about exporting them all to a file and them importing them into Diigo. Look for the export option in your browser’s bookmark manager, and when you’ve exported all the bookmarks to a file visit Diigo Tools. Choose Import, select the file and import them into your library. Or, you might like to declare ‘bookmark bankruptcy’, get rid of all of your old bookmarks and just start again from scratch. It’s a big step, but might be worth it!
  • If you are using the mobile version of Pocket, look for the Diigo option in the sharing menu. Hook up your Diigo account to make saving great articles from Pocket direct to Diigo.

    Pocket’s mobile app includes an option for saving your articles to Diigo

  • Lastly, now that you’ve organised your bookmarks into Diigo, think about what bookmarks you still need in your browser. These should only be pages that you visit regularly, and ones that you need for quick access. Try to keep your browser bookmarks down to your most used websites (email, banking, newspaper, RSS reader, social network, Evernote, Diigo etc) and put anything less important into Diigo, where it’s safe but not in the way.

    Get your browser bookmarks in order and only save your most visited sites in your browser

The only thing to consider now is what you want to save to Diigo, compared to what you want to save into Evernote. Diigo doesn’t store pages forever (unless you pay for a premium account), so basically if you want to make sure you’ll always have access to the contents of an article, clip it into Evernote. If the page is that valuable then you probably want to save the bookmark and share it to your Diigo followers or groups as well. If you are not sure whether you’ll need the page in the future, but want to have that option, then that’s the perfect page to bookmark just in Diigo.

Diigo (or other social bookmarking tools like Delicious or Kippt) are the perfect option for saving your own bookmarks and also for sharing interesting resources without feeling like you are pushing them on other people. Using Pocket, Evernote and Diigo and having a clear idea about the role of each tool means you will always be able to find that resource that you need, when you need it.

Of course, there are a number of other ways to share the resources you find, such as on social media, through curation tools or even in person. In the final post of this series we will look at other ways to share, how to streamline your workflow by joining these tools together and also how to reflect more deeply on resources you’ve found.


View Docs Online

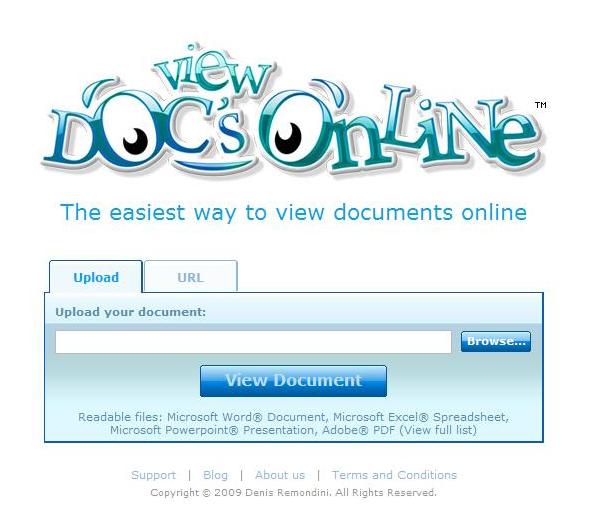
View Docs Online certainly is a quick and simple alternative to GoogleDocs.

View Docs Online homepage

Simply browse your computer for the document you want to upload, click ‘View Docs Online’ and voila, your document is ready to be embedded into blogs, shared via email, Twitter, Delicious, Diigo, LinkedIn, Tumblr (and many more) or even exported as a PDF. Here is a video to show you more about View Docs Online:

Two Web 2.0 presentations

Recently Donna DesRoches, a Learning Resources Consultant from the Living Sky School Division in North Battleford, Saskatchewan, Canada shared two of her presentations with the International Association of School Librarianship (IASL). Donna has agreed to share her presentations with us here at SLAV’s Bright Ideas as well.

Selection 2.0: Using RSS to enhance print, multimedia and web-based resource selection

(Description) RSS, a web-based application that allows the training of information to come to us, can be used to carry-out the professional selection responsibilities of teacher-librarians. This workshop will explain RSS, demonstrate a variety of formats for organizing incoming information and provide a number of sources for print, multimedia and web-based resources.

http://www.netvibes.com/donnadesroches#General

In this session I showed teacher-librarians how to use delicious feeds to create updated lists of resources for teachers and students. I suggested using NetVibes and using the private pages as the ‘messy’ pages where the feeds from things such as book blogs, and other tools with RSS feeds e.g. CM, Open Culture, Librarians’ Internet Index and Larry Ferlazzo’s Websites of the Day – much like the pile of selection tools that ends up on our desks.

As teachers find sites that meet the learning needs of their staff and students they add them to their delicious account tagging them appropriately. The feeds for the specific delicious tags are added to their NetVibes public pages resulting in a collection that could look like this….

Using Emerging Technologies to Build a Personal Learning Network

(Description) Teacher-librarians are specialists with unique learning needs that are not always met through school or division-based professional development. This workshop will provide teacher-librarians with the tools and the knowledge to create networks that will lessen the isolation and provide global connections that will enhance their own learning and benefit the teachers and students with whom they work.

My slide show and supporting links can be found at http://teacherlibrarian20.wikispaces.com/pln

If you have questions about the presentations – please contact Donna.

Thanks to Donna for sharing her presentations with us here in Australia.

Netvibes @ Preston Girls’ Secondary College

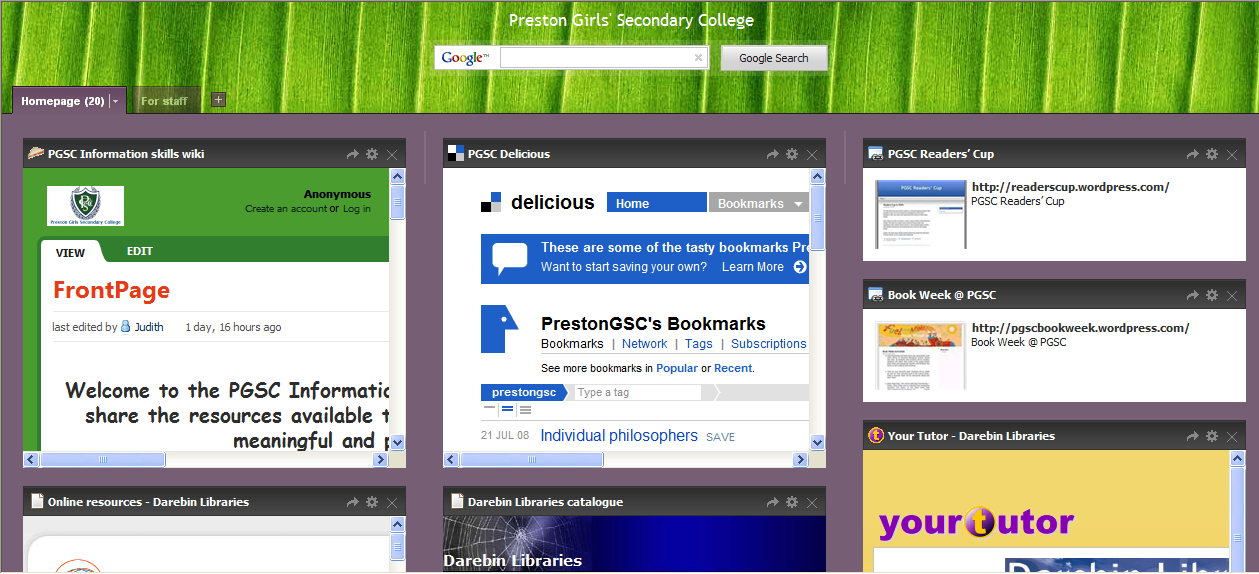
On discovering Netvibes as a result of a previous Bright Ideas post, Preston Girls’ Secondary College teacher librarians Judith Way and Reina Phung couldn’t wait to use it as a resource for students and staff.

Judith says, ‘We had been looking for a Web 2.0 tool where I could incorporate all of the other things we had developed. We needed a central location for all of our blogs, wikis and our Flickr and Delicious accounts. Although Delicious allows us to link sites and describe them, Netvibes gives us the option to incorporate each blog, wiki and other site into our Netvibes homepage. (We also had a problem with our ISP blocking Delicious. This has been an ongoing problem for some months and our IT technician has been liaising with our ISP, but at this moment, to no avail.)’

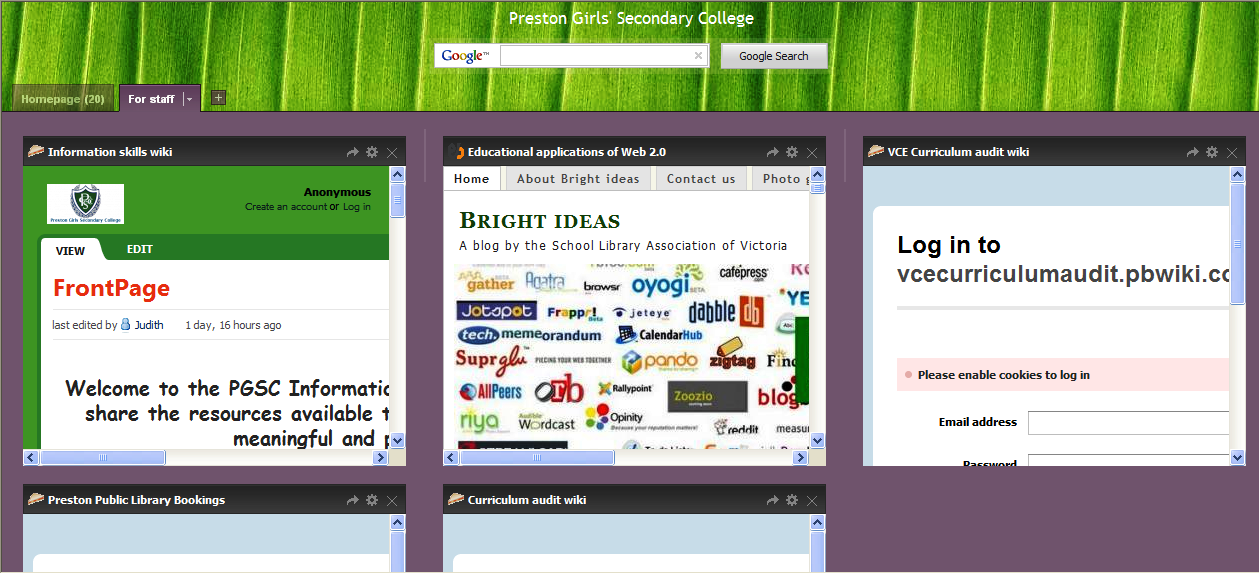
She explains, ‘Once the blogs, wikis, etc. have been linked to the Netvibes page, the actual sites appear within the page. You can set the size of each “mini page”. Students and staff can then enter their chosen site directly, without a need to click a link or open a new page.’

Judith continues, ‘Netvibes also enables us to dedicate pages for staff and pages for students. We intend to use the widget function to add a calendar so students can see when the Readers Cup is scheduled, when Book Club is due in and when Book Week occurs. Our Netvibes page is linked from our intranet and we plan to promote it by encouraging students to explore it during library orienation sessions, by making and distributing bookmarks with the URL and by introducing Netvibes at a staff meeting.’

Judith also says she found Netvibes relatively quick and easy to use and has even been complemented by the school’s IT technician on her work!

Netvibes can also be used as an RSS reader, so those people using Bloglines, Google Reader or other RSS services may decide to use Netvibes instead. Your RSS feeds can be set as ‘private’ allowing only you to access them.

We look forward to hearing how the staff and students at Preston Girls’ use the site and their thoughts on it.

Netvibes

Originally this post was going to be about Pageflakes, the Web 2.0 tool that enables users to create their own homepage without the need for HTML or any other specialist knowledge. But some time ago, this post by Michael Stephens came to my attention. It is certainly worth a read and warns what could become of all of the work we invest in particular Web 2.0 tools; we need some kind of backup. So on the back of what Dublin City Public Libraries have developed via the main alternative, Netvibes, here is some more information.

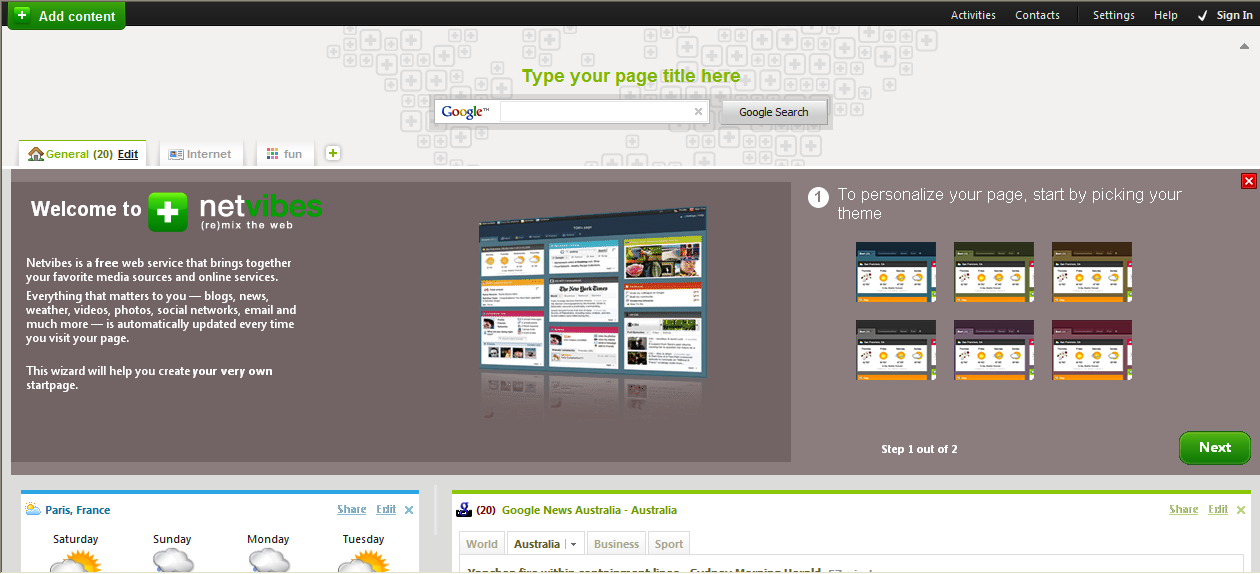
Netvibes is a tool that allows you create your own library (or other) homepage to bring all of your web resources to one place. So if as a school library you have a blog, some wikis, delicious, flickr  and so on, you are able to have them all sited on your Netvibes page.

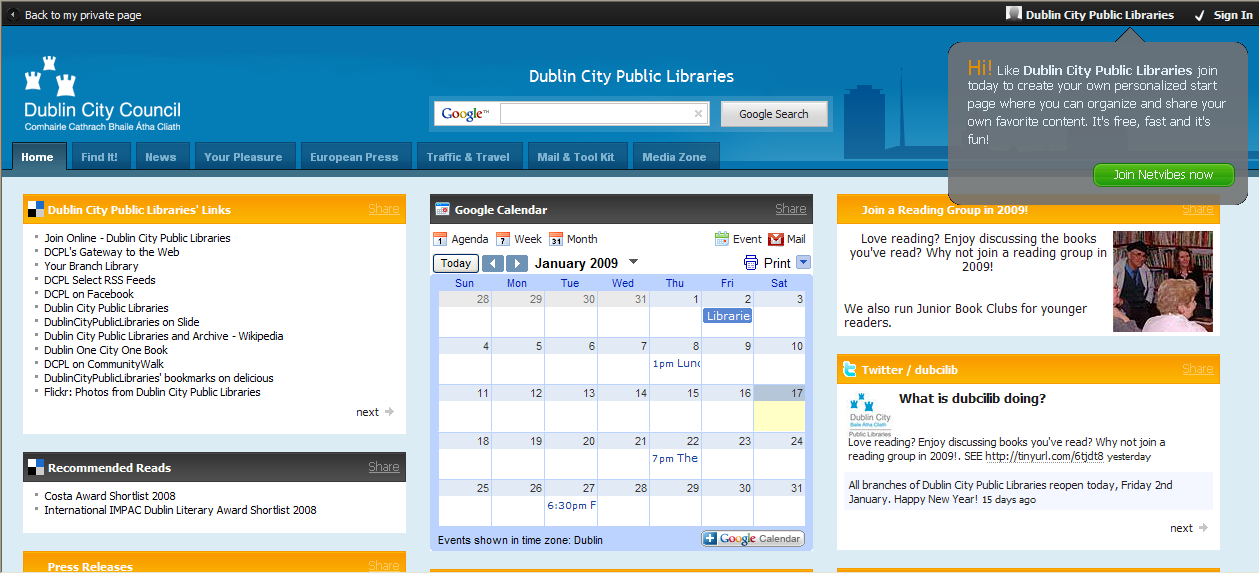
Your own Netvibes page is as easy to set up as a blog or wiki. Netvibes have a setup wizard that asks what type of theme you’d like to use, your location, your (or your school’s) interests, the widgets you want and you have your page! Here is what the Dublin City Public Libraries’ page looks like:

If you don’t like the choices that Netvibes has made for you, you can easily delete them and add others. If you have setup your own blog or wiki, then you can make your own Netvibes page in a matter of minutes. Don’t forget to ask your IT staff to link your Netvibes page to the Intranet, do some publicity and away you go. Good luck! If you do decide to create a Netvibes or Pageflakes page for your library or you already have one, please consider submitting it to Bright Ideas so that we can feature it.

Feature wiki – Samaritan Catholic College, Preston

Lynda Santolin, ILC Co-ordinator at Preston’s Samaritan Catholic College has spent time since completing the SLAV Web 2.0 course earlier this year developing numerous tools for teaching and learning. She has also led a staff PD introducing them to the world of blogs and wikis.

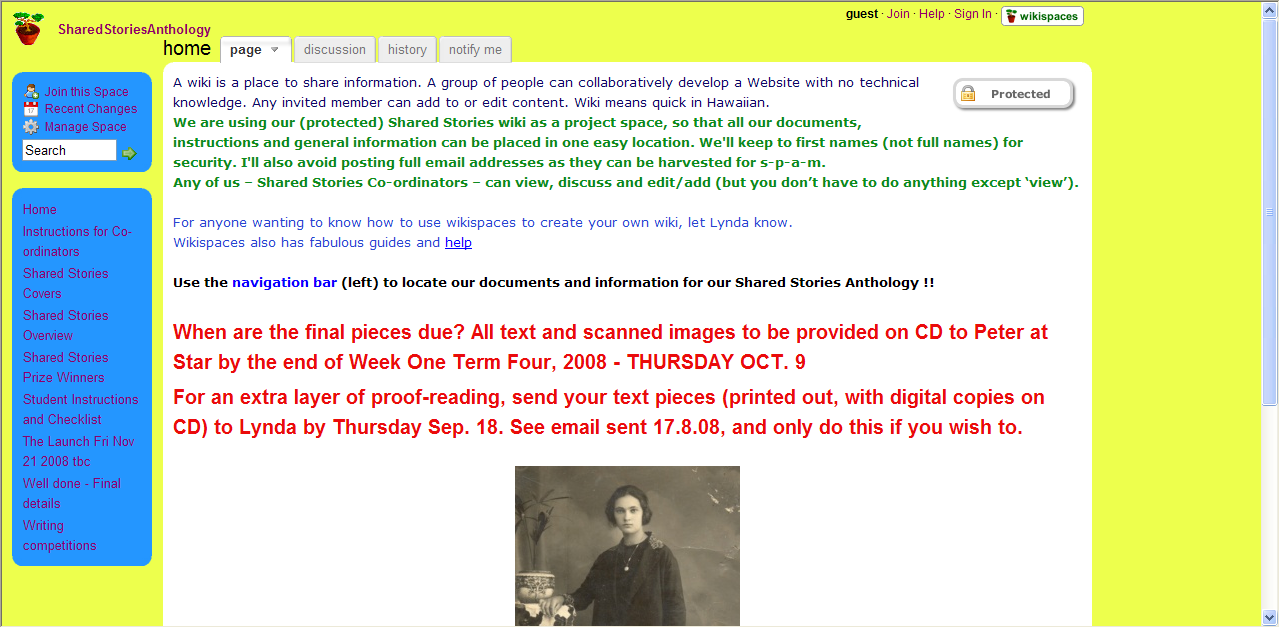
A Book Club blog, Staff Book blog, del.icio.us site, Rollyo account and online image generators have all been tools that Lynda has introduced. But she feels her greatest success was with wikis. ‘I created a wiki for staff to use. I think it has great potential for staff in faculties, or across campuses or even across schools, to share resources and planning. I also set up the  Shared Stories Anthology wiki – which is run across 8 schools – the school coordinators compile student writing/visual arts pieces on a theme and publish and ‘book launch’ it each year. The wiki has enabled us to share:

  • Planning
  • Practicalities and pitfalls
  • Logistics
  • Launch details
  • Post-launch’
Shared stories anthology wiki

Shared stories anthology wiki

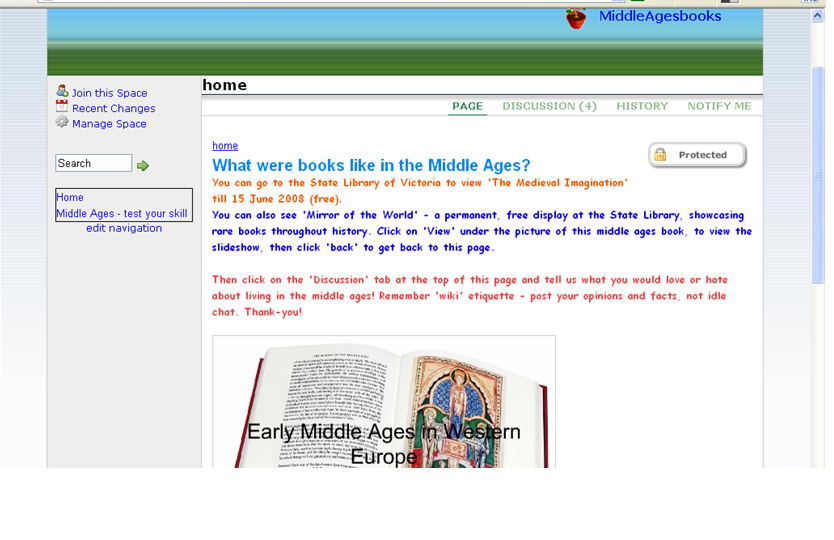
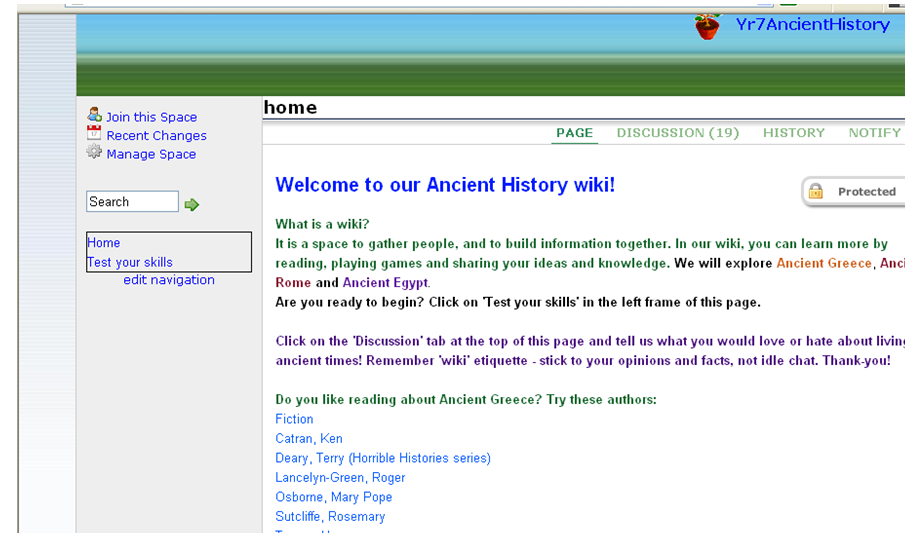
Lynda has developed a further two wikis for teaching and learning; Year 7 Ancient history and Year 8 Middle Ages. ‘In each of those, I had an information focus, but then something interactive – ‘test yourself’ type of thing. Our team put those websites together, I made the wikis, and the kids were engrossed with them and said they had ‘fun’. One example is this one interactive game to dress a knight for battle by answering a few
questions.’


Middle Ages

Middle Ages

She continues, ‘I also had a discussion forum, where I tried to ask ‘thinking’ questions, for example, Would you have liked to have lived in Ancient Times? Why/why not? (Their responses were really interesting and often funny ‘No, because I wouldn’t be able to play computer games’). The discussion posts where each student needed to be members of the wikispace to respond. And from memory, they had to reply to an invitational email to do that. That was a lot of work and effort!’

Ancient history wiki

Ancient history wiki

Lynda explains she is ‘finding wikis – wikispaces.com (it is free and the educational membership is advertisement-free) – easier to handle than blogs. Blogs are hard to do if you are trying to give many people a voice (page). I wouldn’t do it again as a blog, but I’d try wikis.’ 

Lynda has been very happy with wikispaces.com as she feels that it has great guides and support for teachers. She recommends using wikis over blogs as they are easy to use. She suggests:

‘Before using wikis with students:

  • Have a ‘play’ by creating your own personal/professional wiki. Learn.
  • Wikispaces = great help/tutorials (see above)
  • Know about Netsafety, Copyright and other cyber issues
  • Show students: examples/models
  • Use old technology – pen & paper! – to plan
  • Plan your ‘discussion’ to encourage higher order thinking and metacognition’

Lynda also suggests that: Students need to know practicalities, pitfalls. For example:

  • Uploading content/feedback comments is NOT ‘chat’ – stay focused
  • Never reveal your or another person’s entire name, contact details, school
  • The wiki/blog does not replace homework (can’t be an excuse not to do homework!)’

Lynda also addressed other issues such as Netsafety, Copyright and other cyber issues. She says to ‘familiarise yourself with Working with the Web and to have dialogue with the Assistant Principal and other relevant co-coordinators/staff.’

Overall, Lynda has had great success with the wiki, but explains that the ‘practicalities and pitfalls of wikis and blogs include:

  • Being time-consuming, so has to be suited to the educational project – worthwhile/rewarding
  • It gets less tricky as you get more proficient – there is light at the end of the tunnel!
  • You still have to constantly monitor it and moderate comments (all sent to your email inbox)
  • Suggest: set a start and end date for the wiki
  • It’s easier to create the wiki with another person – solo is hard but still possible…
  • Take small steps and start small!’

Lynda says that the SLAV Web 2.0 course gave her ‘the skills, knowledge and experience to participate in the Web 2.0 world, and I love the multi-literacies, communities, collaboration and peering.’

Thanks to Lynda for sharing her thoughts and hard work and congratulations on the success of all your Web 2.0 tools, particularly the wiki.